Setting Up Your First Home Lab
The first step: picking the right hardware and getting it online. What to buy, what to avoid, and how to connect to it once it is running.
A home lab can be almost anything: a repurposed desktop, a NAS, a mini PC, or a single board computer sitting in a corner. My starting point was a Raspberry Pi, and I would still recommend it as the most accessible entry point for anyone new to this.
A Raspberry Pi is a credit card sized computer that draws very little power and costs a fraction of what a full server would. It is not the most powerful machine you will ever own, but it is more capable than it looks. It will handle the foundations of a home lab without complaint. You will need to be comfortable using a terminal and have a basic understanding of your home network to follow along. If that sounds unfamiliar, spend an hour with a terminal tutorial first and come back.
Choosing your hardware
If you want the simplest starting point, a Raspberry Pi 5 4GB with an endurance rated microSD card and the official active cooler is all you need to begin. Everything else in this section can come later once you know what direction your home lab is heading.
The Raspberry Pi 5 is the current generation and the one I would go with. The 4GB model handles most home lab workloads comfortably. If you are thinking about AI workloads or running a larger stack of containers, the 8GB model gives you more headroom. At the time of writing, hardware costs are higher than usual, so factor that in. A sensible starting budget is anywhere between £60 and £100 for the core hardware, though this will vary by configuration and availability.
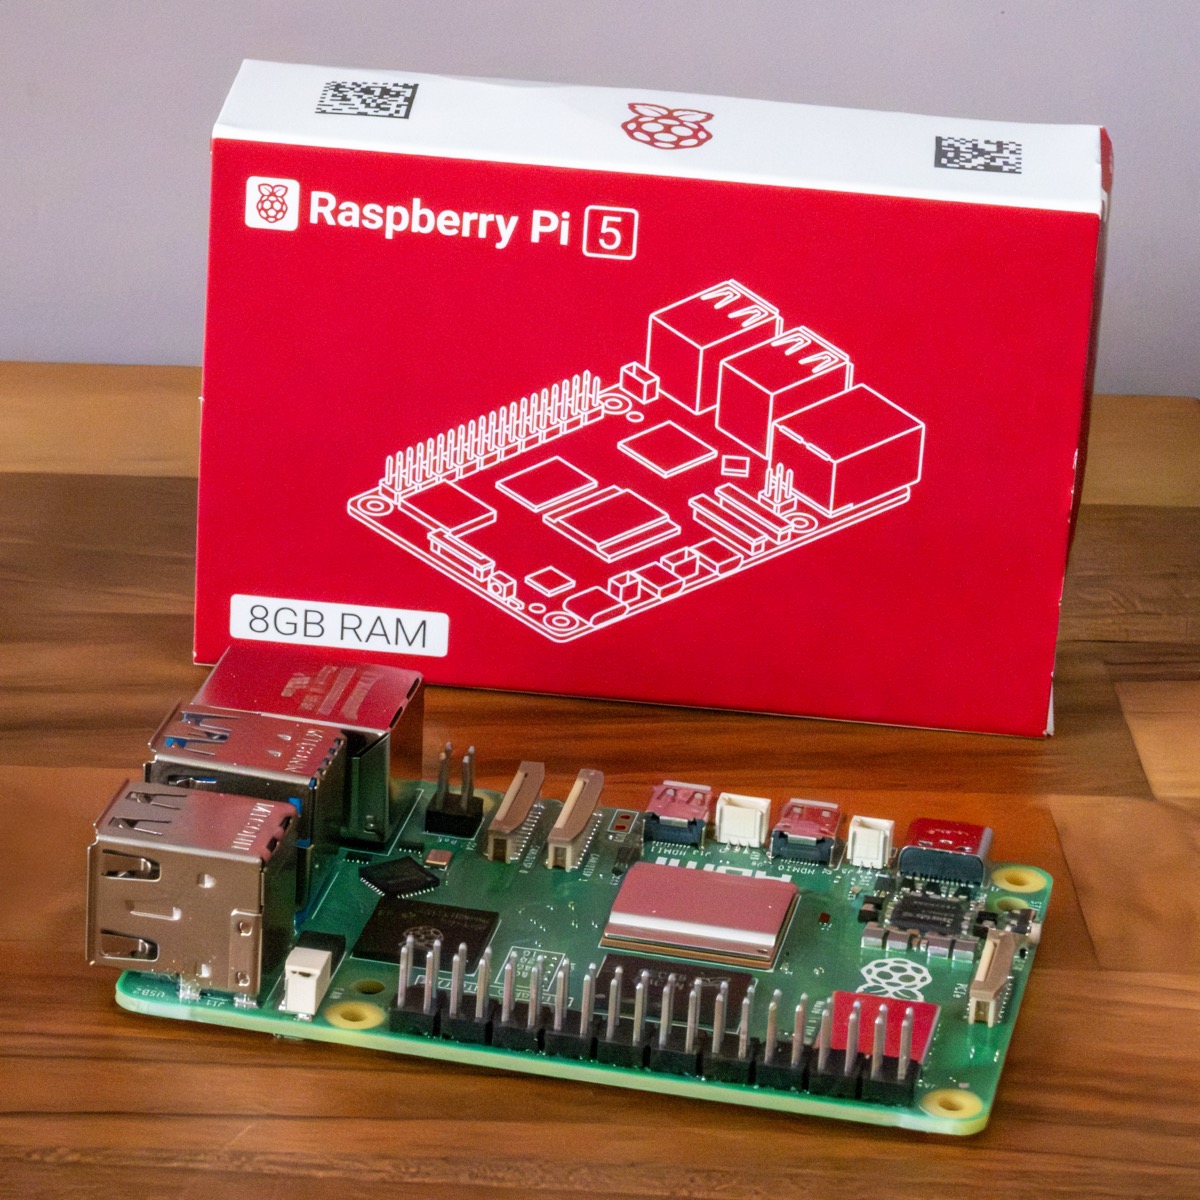
You also need to think about storage before you buy. The Pi uses a microSD card by default, but a standard card will not last long running a server that writes data constantly. If you go the microSD route, buy an endurance rated card. SanDisk and Samsung both make good options. The better long term investment is an NVMe M.2 drive paired with a case that has an integrated M.2 slot.
The case I use is the Argon NEO 5 NVMe: an aluminium enclosure with a built in fan and an M.2 slot, so storage and cooling are handled in one purchase. A Pi running continuous workloads gets warm. Sorting the thermal management from the start means you are not revisiting it later.
The Raspberry Pi 5 needs a 5V/5A USB-C power supply for full performance. A lower rated supply will cause the Pi to throttle under load.
Think before you build
My advice is to go in with a clear idea of what that particular Pi is going to do. The Pi 5 has one PCIe interface, and it is shared between storage HATs and AI accelerator HATs. If you plan to add both, you will need to research multi interface boards before you commit to a case. Knowing your end goal avoids buying hardware that conflicts before you start.
When I set up my first serious home lab, I had one goal: local storage for a photo frame project. I bought a Pi, a drive, and a case. That was it. The rest built itself from there.
Setting up the operating system
For the detail of imaging and first boot, the Raspberry Pi website is the right place to go. The official documentation will always be more current than anything I could write here, and the steps change as the software updates.
The setup I use is Raspberry Pi OS Lite, 64-bit. No desktop, no graphical interface. Just a clean operating system you access entirely via terminal. It is lighter, uses fewer resources, and points you toward good habits from the start.
The Raspberry Pi Imager handles writing the OS to your card or drive. Before you write the image, configure your hostname, username, password, and WiFi credentials, and enable SSH. When you power the Pi on for the first time, it connects to your network automatically and is immediately accessible without ever touching a monitor or keyboard.
Your first connection
From any other computer on your network, open a terminal and SSH into your Pi using the hostname or IP address you set. You are in. That is your home lab running.
From here, the Pi is a blank slate ready for whatever you want to put on it. The next step is getting your home lab ready to run applications, which is what the next project in this series covers.